Black specks and contamination
Carbon from a degraded melt, foreign material, or colour carry-over from regrind. Small, low contrast, and the most common reason for a customer complaint.
Industries
Every shot inspected, every reject logged against its cavity
Black specks, short shots, flash, stringing, IML delamination. Most are small, and most come and go shot to shot, so an AQL sample plan will not see them. Deepvis inspects every part as it leaves the tool.
We support the inspection of measuring jugs, closures and lids, thin-wall pots, technical mouldings.
The defects
Real parts off the tool. Drag any frame. The photo is on one side and the same frame marked up on the other, shot at the same exposure.
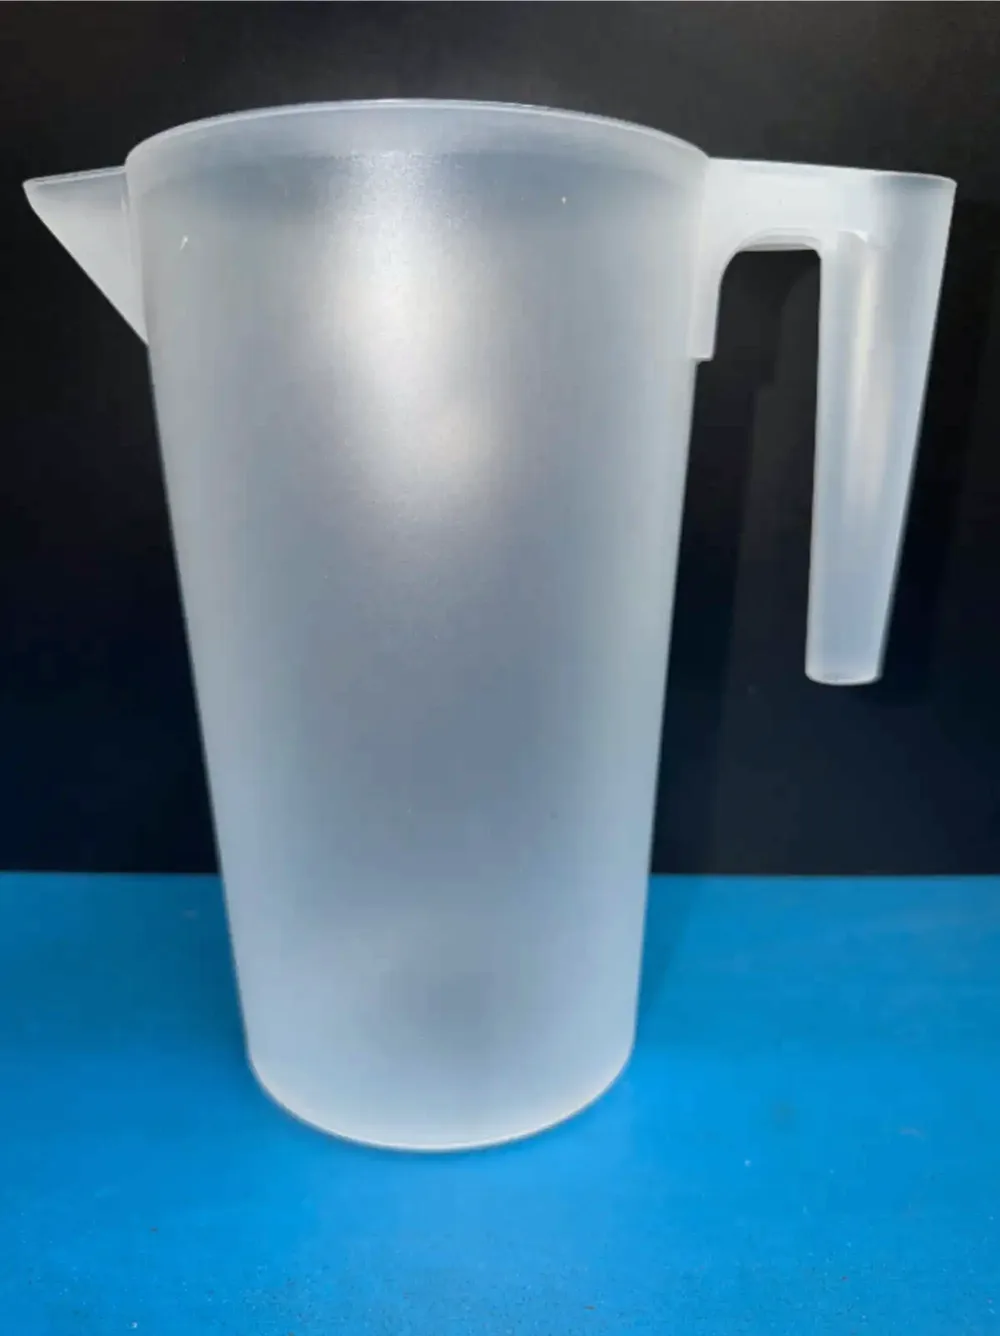
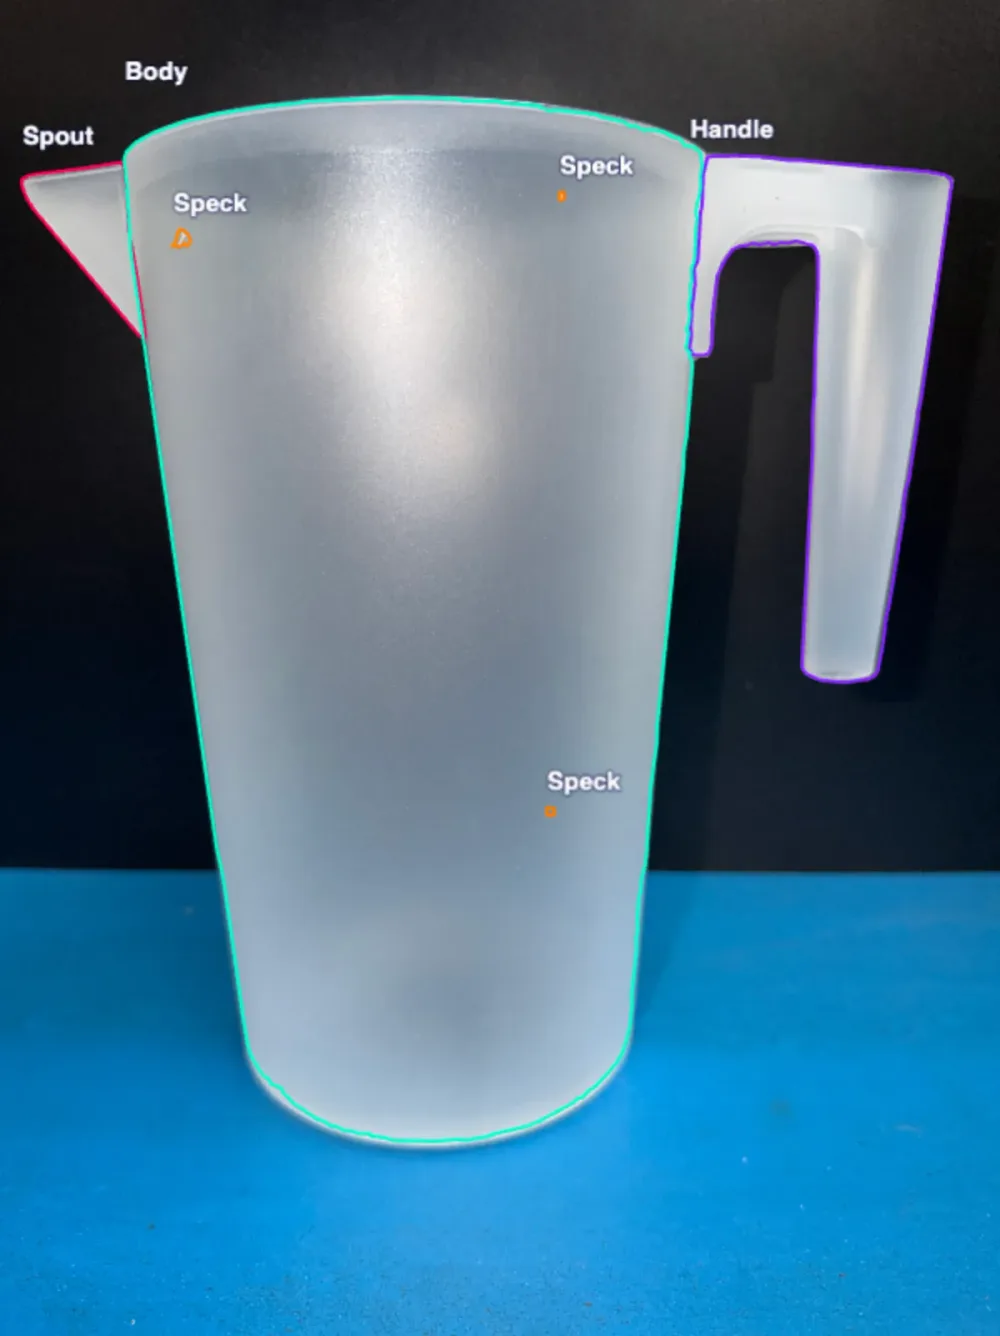
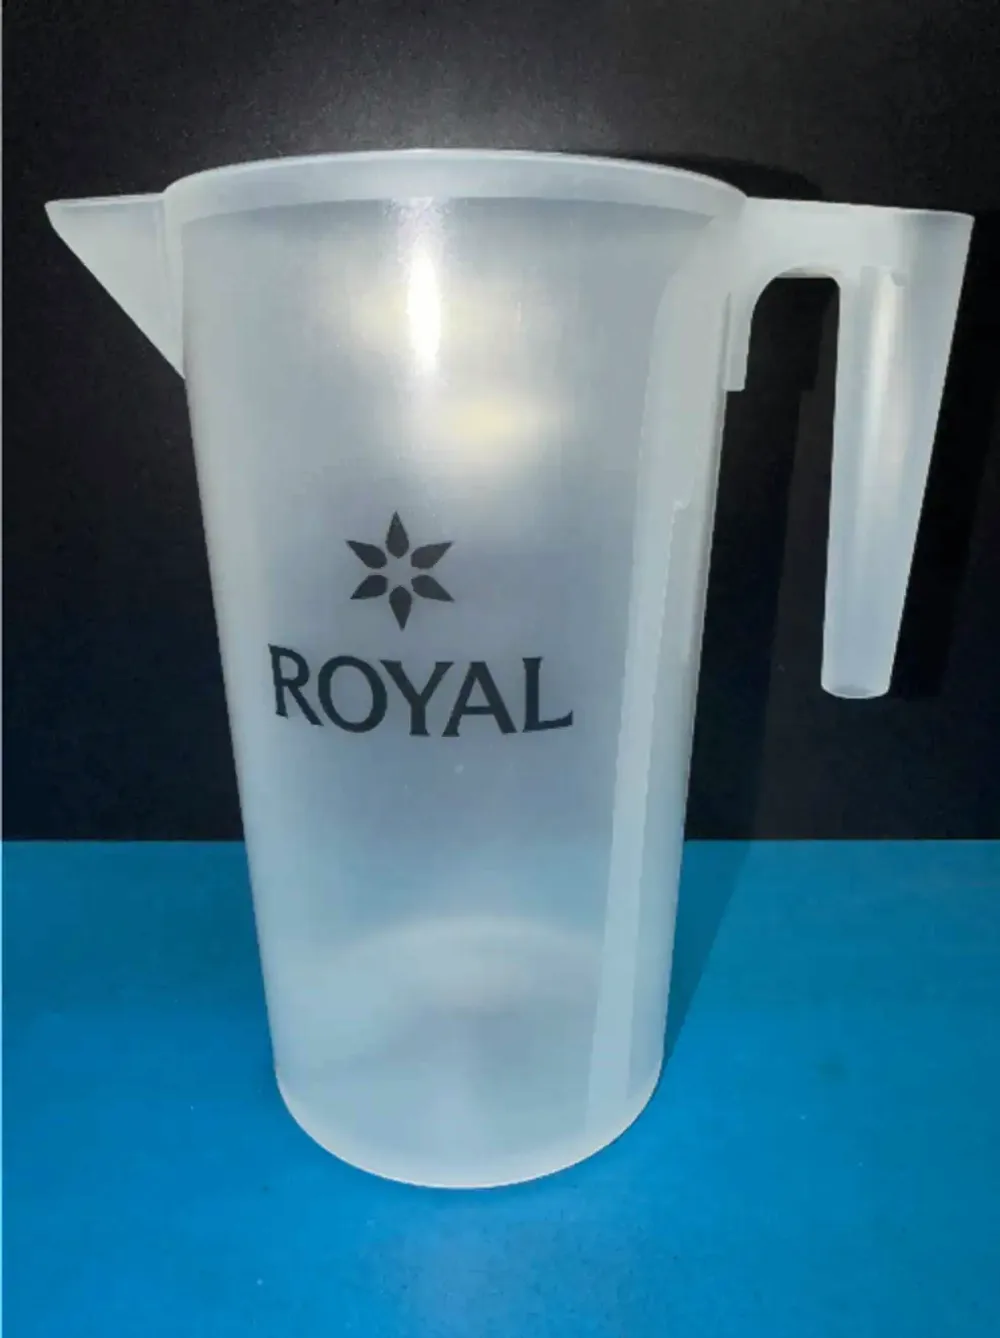
Carbon from a degraded melt, or contamination carried in with the regrind. On a translucent part they show from both sides. The part is segmented into spout, body and handle first, so each speck is logged against the area it landed on. You decide which areas are cosmetic and which are not.
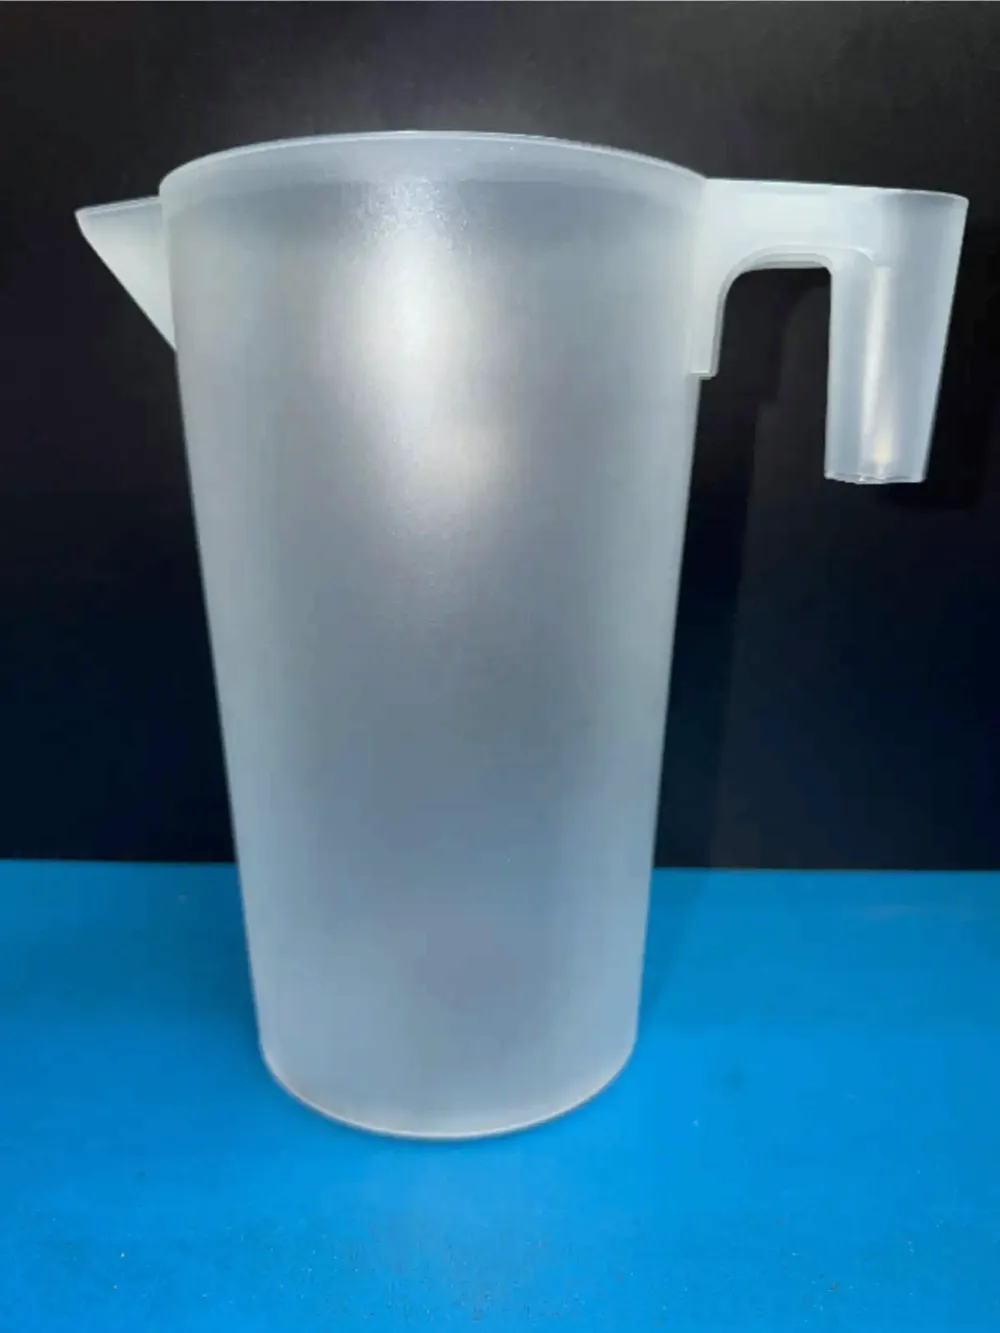
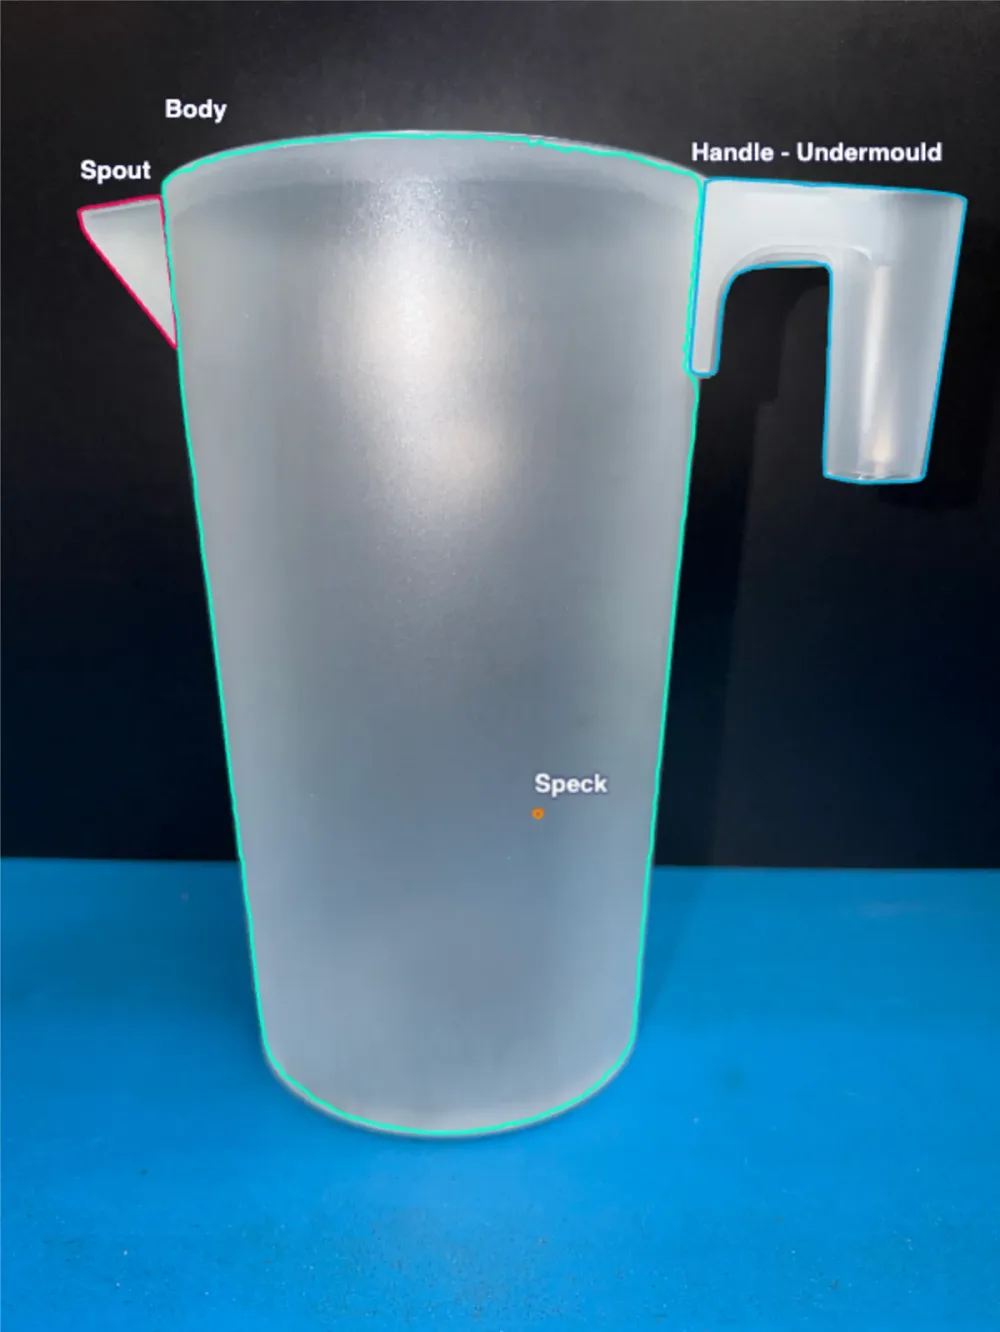
The cavity did not fill out and the handle is short. Shot weight is close enough that a weight check passes it. Short shots follow melt temperature, hold pressure and blocked venting, so they turn up at startup, after a colour change and after a tool clean.
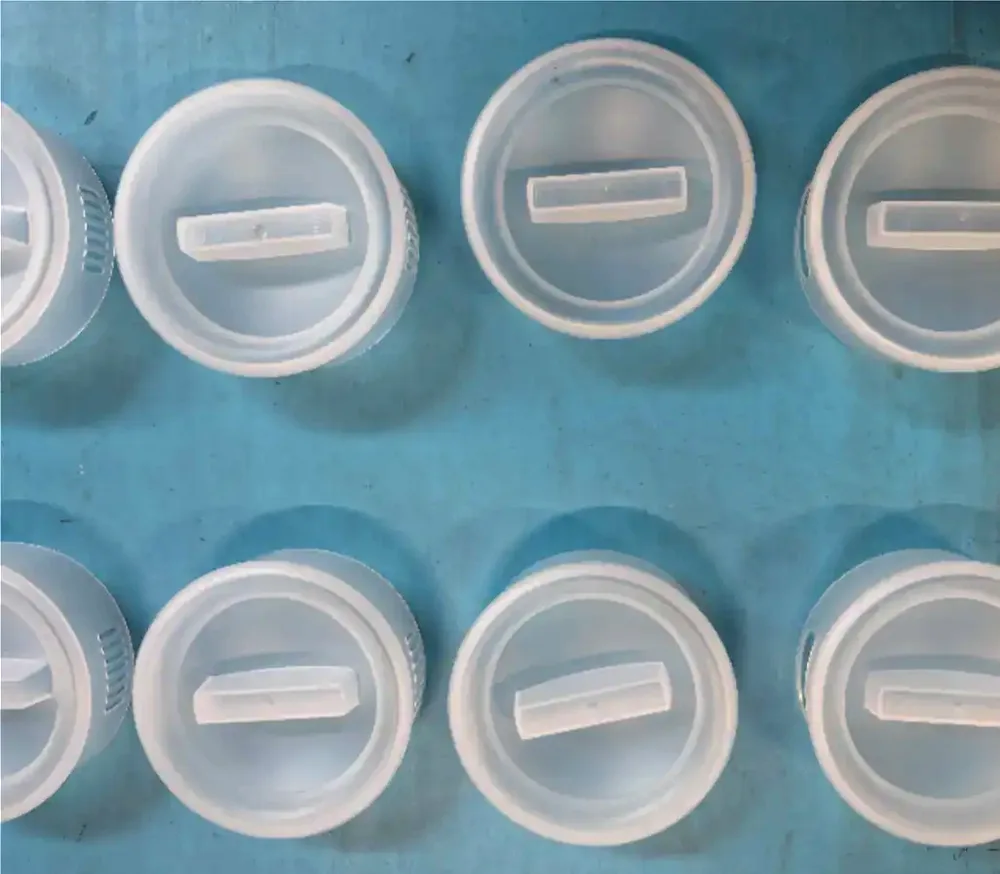
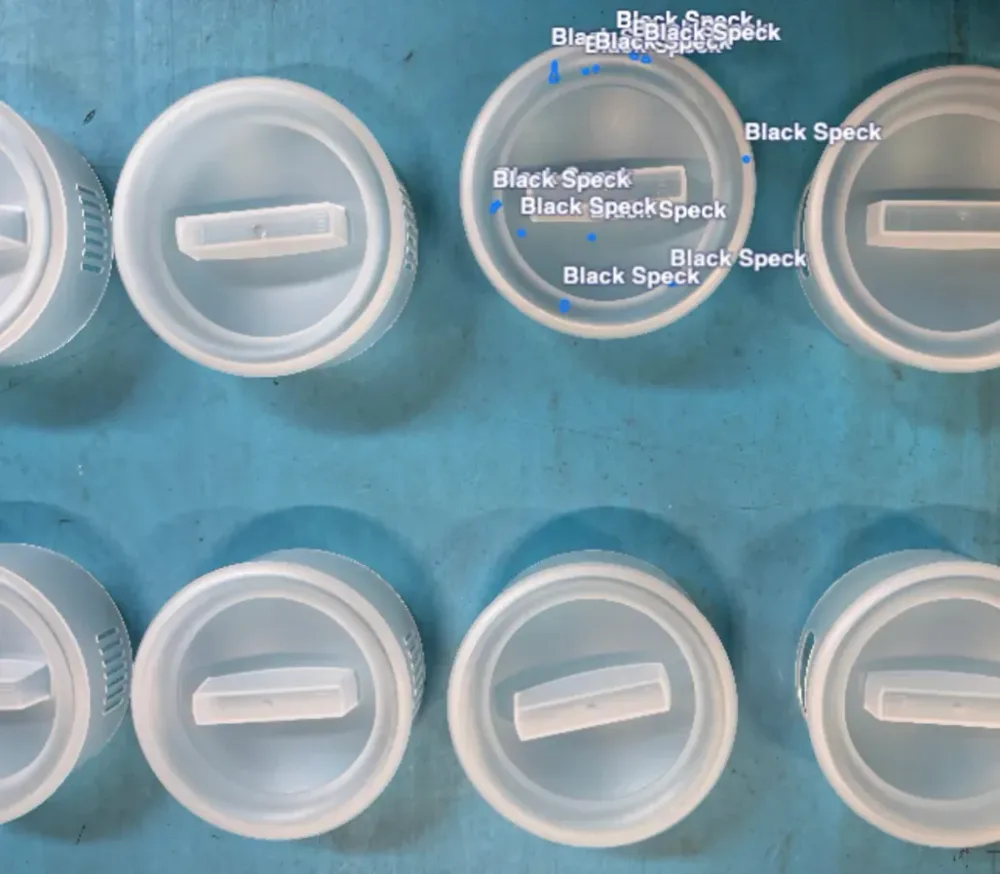
Lids on the belt, six in frame. The specks here are all on one lid; the rest are clean and stay on the line. On a multi-cavity tool the reject also carries the cavity number, so the fault gets attached to the position that made it.
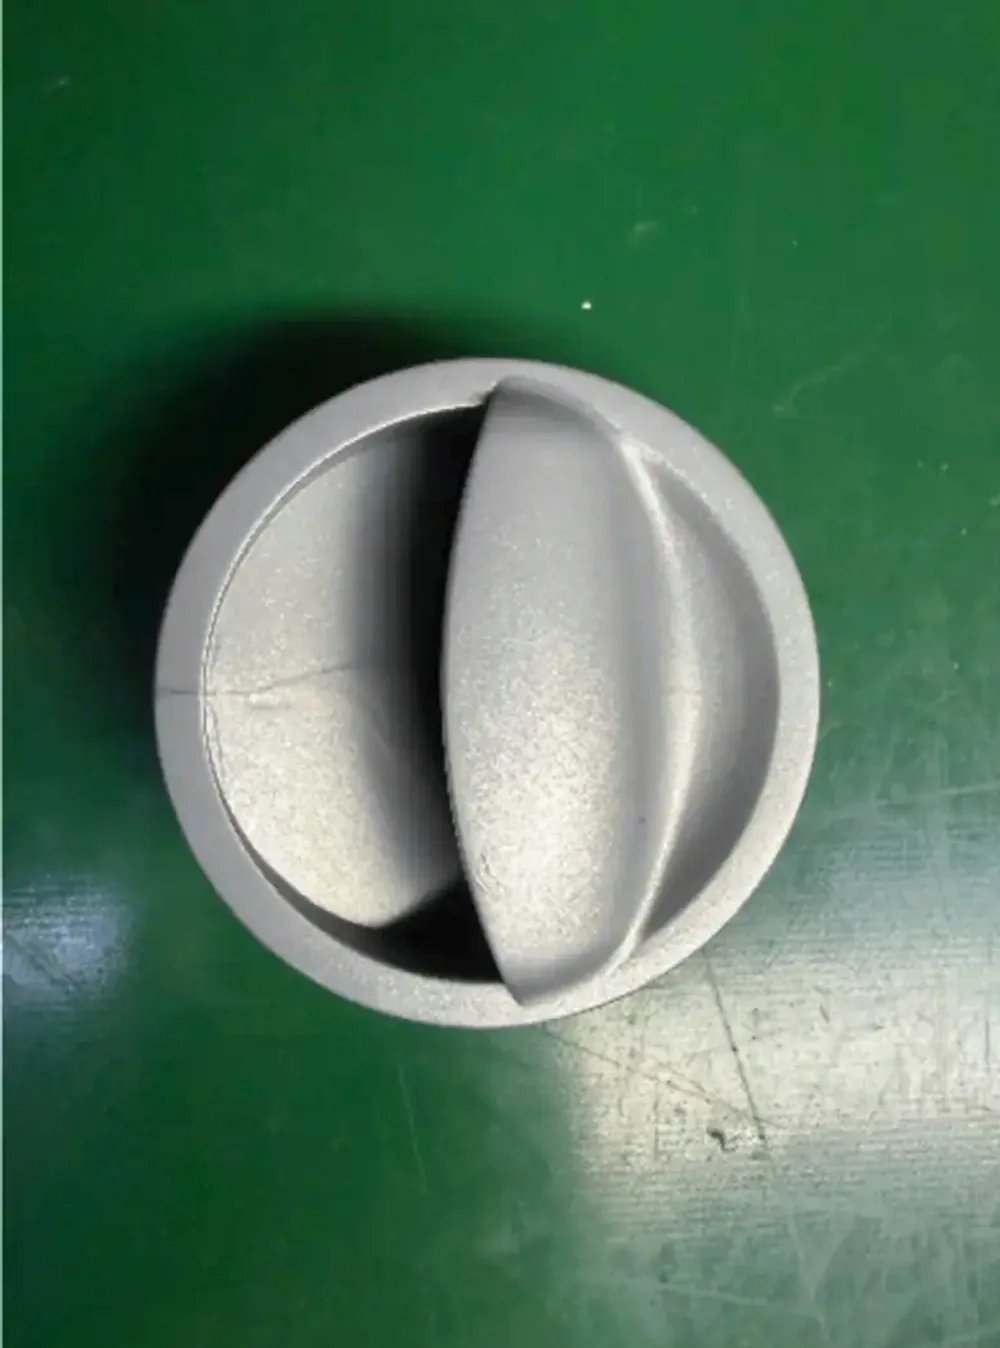
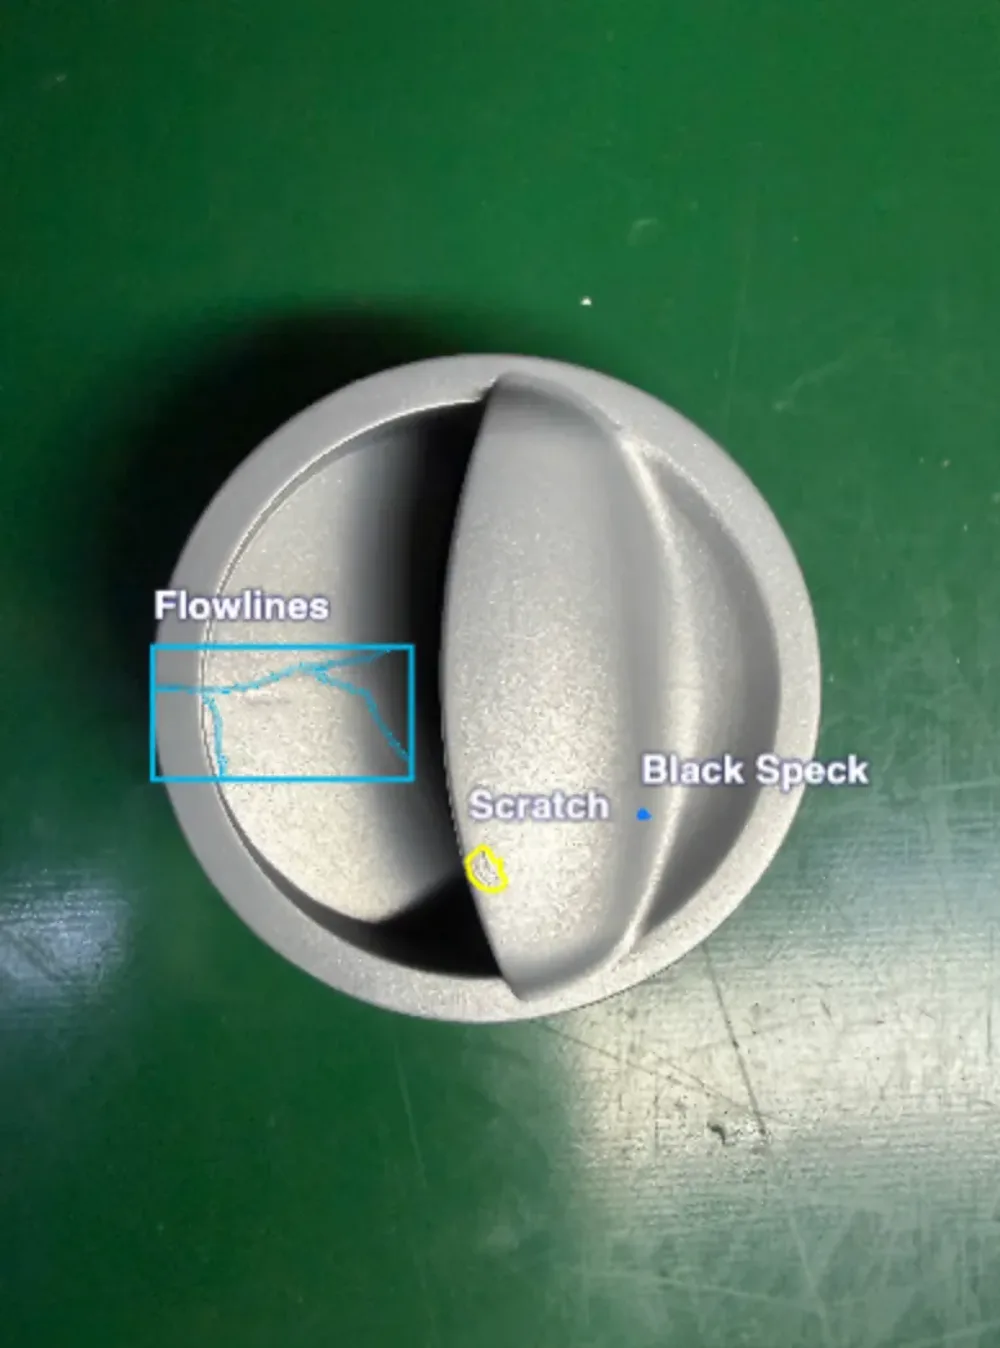
Flow lines from the melt front, and a scratch from ejection. Cosmetic limits are normally a judgement call, which is why day shift and night shift scrap different parts. Both are measured as an area in mm² here, so the limit sits in the recipe.
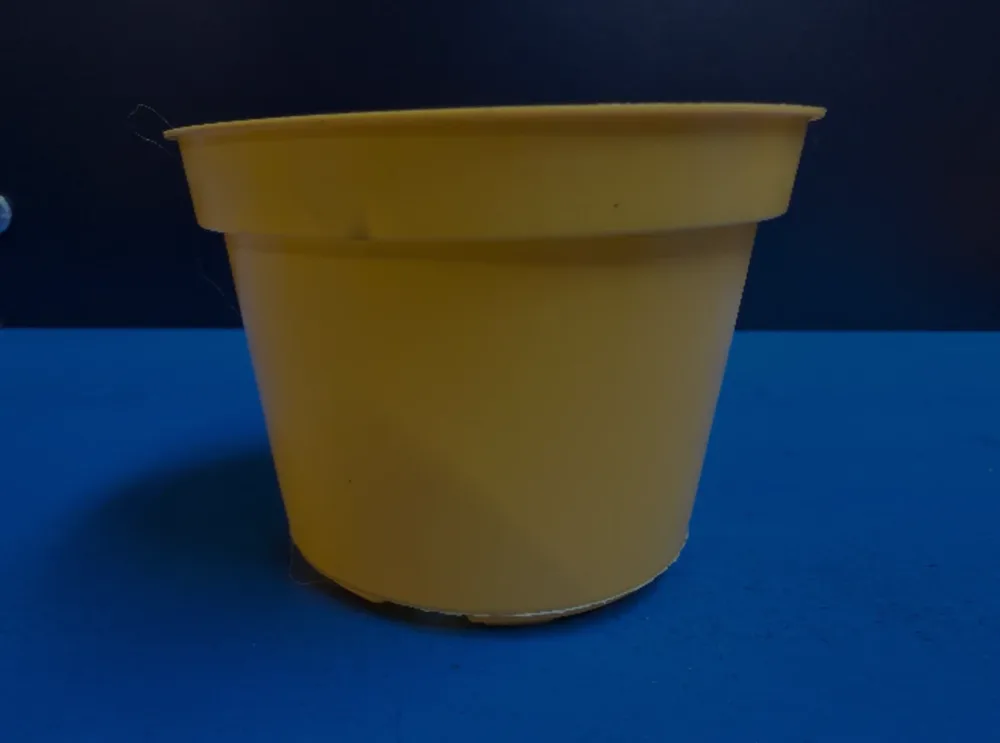
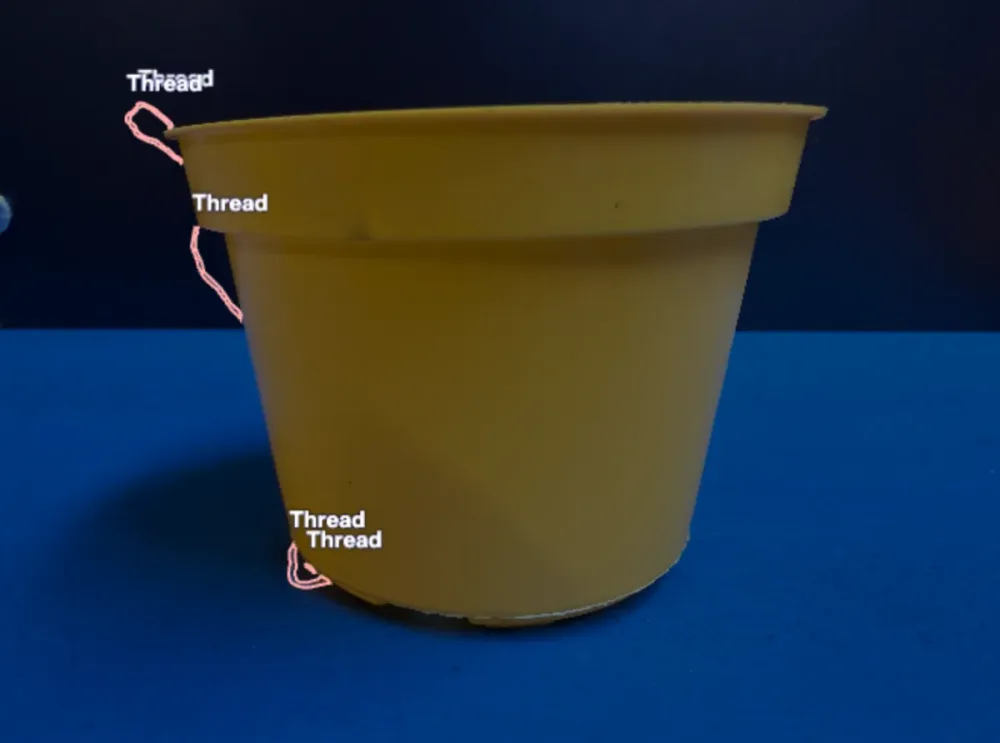
Angel hair pulled off the part at demould. Normally decompression, melt temperature, or a hot tip running warm. On a plant pot it is cosmetic. On a closure it lands on the sealing face and you get leakers downstream.
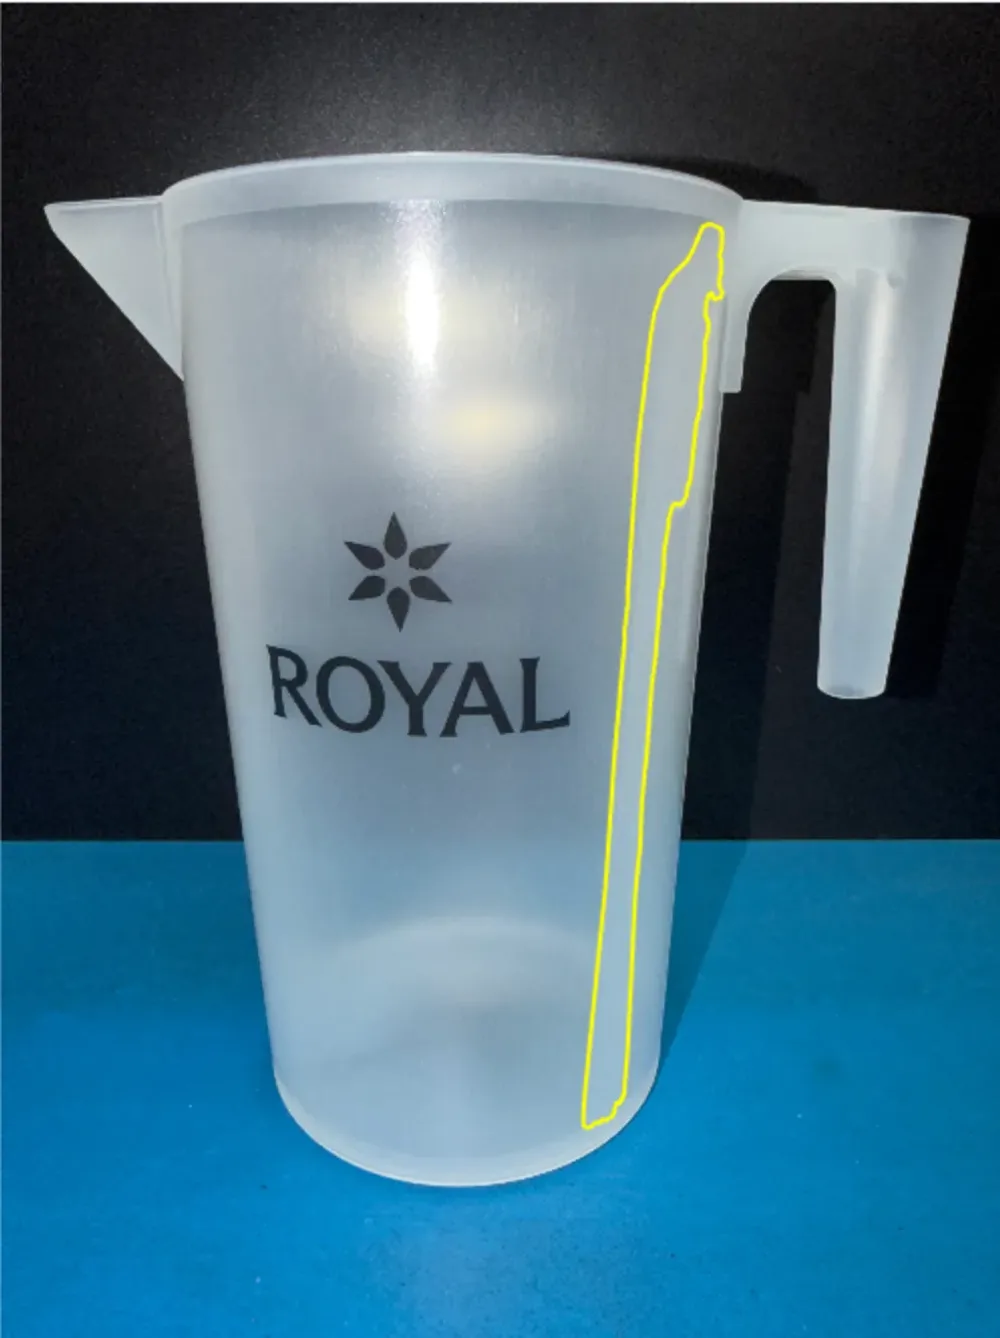
The label has lifted off the substrate. Causes are label placement, static, air trapped behind the film, or a melt front too cool to bond it. Any of them can happen on one shot and not the next, with no change to the settings.
On the machine
Where the camera goes, how fast the result comes back, and what happens to a bad part.
Parts get imaged on the robot arm, on the conveyor, or in a fixture at end of line. Wherever they already pass.
Under 200 ms. The result is there before the next shot.
You set the limit per class. The result goes out on the cell’s IO to a diverter, an air blast or the HMI.
Image, cavity, class and size, kept per shot. Pull a part back up by date, batch or cavity.
Defect list
Carbon from a degraded melt, foreign material, or colour carry-over from regrind. Small, low contrast, and the most common reason for a customer complaint.
The cavity did not fill out. Weight checks usually pass it. Worst at startup, after a colour change, and with blocked venting.
Material past the parting line. Points at a worn tool, low clamp tonnage or too much pack. Stops parts assembling and lids seating.
Cosmetic faults. Measured as an area in mm², so the limit sits in the recipe instead of being agreed shift by shift.
Angel hair off the gate or the rim at demould. Thin, moves around, and it lands on sealing faces.
Label lifted off the substrate. Comes and goes shot to shot, so a sample plan misses it.
What changes
Four things a shift notices.
Most scrap goes out at startup, at colour changes and after a tool clean. Inspecting from the first shot shows when the process has settled, instead of purging a set number of shots.
A fault found at the customer means sorting the batch, usually by a third party at short notice. Found at the cell, it stays the size of the parts that have it.
Every reject carries a cavity number, so you know which cavity to block or pull for maintenance. The tool keeps running on the rest.
Images of the actual parts, with date, batch and cavity. That is what an 8D or a customer audit asks for.
The method
Four steps, whatever the part is. Everything above was marked up by hand first. That is how the model learns your defects, and the only way it learns them.
We start from your reject criteria, on your parts. The model returns what you marked up and nothing else.
Camera, optics and lighting are picked for the material. Frosted PP and a black closure are different jobs.
A hundred frames off the running tool, 120 marked up. Your resin, your regrind, your colours, your fixture.
Training takes about two hours. After that every part is checked in the cycle and rejected on your limit.
First step
You send 100 parts — 50 good, 50 faulty. We photograph them, train a model on them in our lab, and 14 days later you have the report.
What the report contains — click a page
Guarantee
If we cannot find the defect type you point at, you get your money back. Buy the system within 60 days and the fee is credited in full.
DKK 8,000
FAQ
Simple and Easy to deploy AI Inspection Systems for modern production environments.
Discover how AI-driven visual inspection can reduce errors, cut costs, and adapt to your production line — without complex setups.